At Fluid Health & Fitness, we often talk about “structure before conditioning.” But what does that actually mean for you—and more importantly, how do you know where your structure is now?
That’s where self-screening comes in.
You don’t need to be a physical therapist or movement expert to begin understanding your body’s strengths and limitations. What you do need is a way to think about your body—how it stabilizes, breathes, shifts, and balances—so that you can work with it instead of constantly pushing through dysfunction.
This blog is here to help you do exactly that.
We’re going to walk you through the major components of our Fluid biomechanical screening model, but in a way that makes sense for you as an individual. Our system is grounded in science—from developmental kinesiology and biomechanics to respiratory function and neural coordination. And while we apply it clinically and in structured coaching environments, the principles behind it are just as powerful when applied to your own movement practice at home.
Let’s break it down.
Step 1: Understanding the Role of Body Regions
First things first: your body doesn’t move in isolated parts. Even a simple task like standing up engages your entire chain—from your feet to your core to your head. That’s why we always start by thinking in regions, not just joints or muscles.
These include:
-
The Core Canister (head, neck, ribcage, spine, pelvis)
-
Upper Extremities (shoulders, arms, hands)
-
Lower Extremities (hips, knees, ankles, feet)
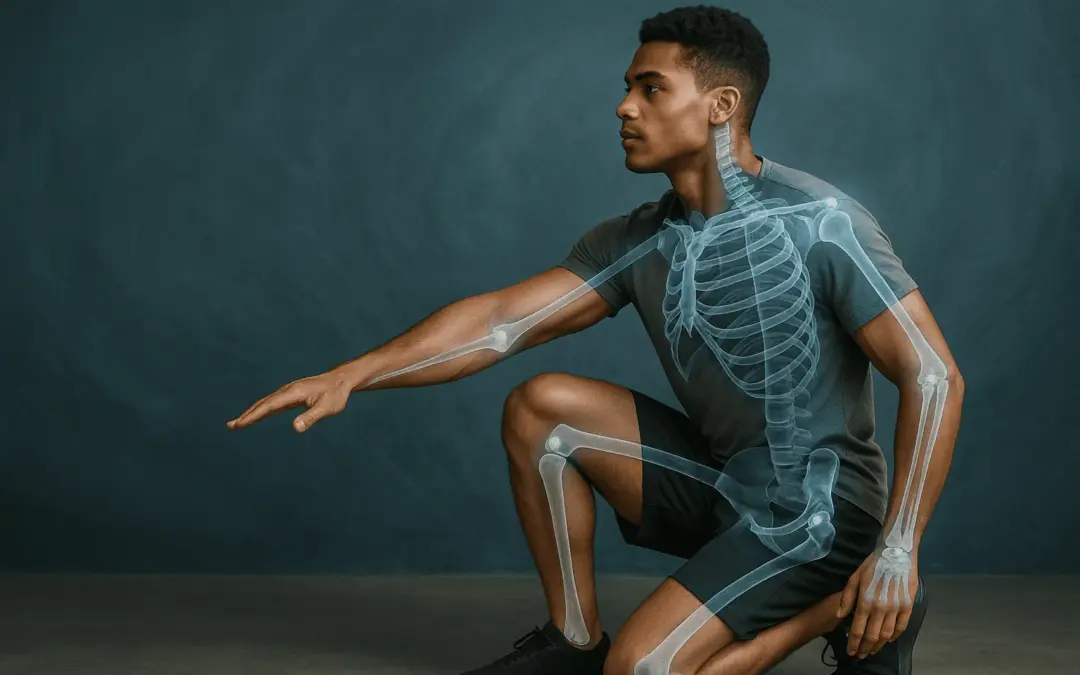
When you’re doing any movement—like a lunge, a push-up, or even just sitting and breathing—you can begin observing where things feel stable or restricted. Are your shoulders rounding forward? Does one foot collapse more than the other? Do you lean into one side of your pelvis?
Why it matters: Pain or compensation rarely starts where it shows up. By thinking regionally, you can begin to trace patterns—like a tight shoulder that’s actually the result of poor ribcage or pelvic control.
Self-check suggestion: Try a wall sit or supported half-kneel. Can you stack your ribs over your hips? Can you maintain that without wobbling or tensing your jaw or neck?
Step 2: Looking Through the Lens of Development
One of the most powerful insights from our model—and from systems like DNS (Dynamic Neuromuscular Stabilization)—is that the way we learned to move as babies still governs how we stabilize and perform as adults.
We call this ontogenesis—the developmental roadmap your body followed in the first year of life. Crawling, sitting, reaching, rolling—these weren’t just milestones. They were foundational programs that built your postural reflexes and muscular coordination.
When we assess movement at Fluid, we use these developmental stages to identify where someone may have skipped a step or lost integration. And you can do the same.
Why it matters: If you can’t control your core in a basic sidelying position, loading that system with squats and overhead presses is like building a house without a foundation.
Self-check suggestion: Lie on your back with knees up and feet flat (a “3-month supine” posture). Can you breathe into your sides and hold neutral rib position without clenching? That’s your starting point.
Step 3: Breathing Is the Baseline
Here’s something that surprises a lot of people: before we even look at squats or shoulder range, we assess breathing.
Why? Because breathing isn’t just about oxygen—it’s about stabilization. Your diaphragm isn’t just a respiratory muscle; it’s a postural one. It works with your pelvic floor, abdominals, and deep spinal muscles to create intra-abdominal pressure (IAP), which is your body’s natural “internal brace.”
If your breathing is shallow, chest-driven, or disconnected from your core, everything else will have to compensate—your neck, your lower back, your hips.
Why it matters: Research from DNS and PRI (Postural Restoration Institute) confirms that proper diaphragm function is crucial for efficient, injury-free movement.
Self-check suggestion: Place your fingers on the sides of your lower ribs. Breathe in slowly. Can you feel your ribs expand out and back—not just up? Try this in standing and sidelying. What changes?
Step 4: Recognizing Asymmetry (And Not Being Scared of It)
The human body is naturally asymmetric. Your liver is on the right, your heart is on the left, and your brain is wired with lateralized functions. So it’s no surprise that we all have dominant movement patterns. What is a problem is when these asymmetries go unchecked.
At Fluid, we pay close attention to your ability to shift weight, alternate sides, and move reciprocally—skills that are often underdeveloped, even in highly trained individuals.
Think about walking: one side shifts while the other stabilizes, and this rhythm alternates. Now think about a squat where you always lean into one hip. That’s an asymmetry expressing itself.
Why it matters: Studies on functional laterality and asymmetry show that imbalances can lead to inefficient movement, energy leaks, and even pain over time.
Self-check suggestion: Do a simple standing reach-to-opposite-toe movement. Do you shift easier to one side? Do you rotate more freely in one direction? These are clues.
Step 5: Can You Maintain Control Under Load?
Finally, we look at what happens when you apply load or challenge to your system. Not just weights—load can be anything that demands more from your posture: longer duration, instability, deeper range of motion, or movement complexity.
This is where most people start their fitness journey (e.g., “let’s hit the gym”), but it’s where you should finish your screen.
The key question here is: Can you maintain quality movement under demand?
That doesn’t mean pushing through discomfort. It means observing when and where things start to break down.
Why it matters: Load tolerance isn’t about brute strength—it’s about resilience. In clinical biomechanics, this is known as “fatigue resistance under submaximal load”—a key predictor of injury risk and performance potential.
Self-check suggestion: Try a 30-second wall sit or plank. Can you hold alignment and breathe without bracing your neck or holding your breath? That’s your measure of control.
Tying It All Together: Using the Fluid Model as a Guide
The beauty of the Fluid screening system is that it’s not just a checklist—it’s a framework for understanding how your body works. Every movement tells a story:
-
Your breath tells us about your stability.
-
Your postural control tells us about your foundation.
-
Your asymmetries tell us about your compensations.
-
Your developmental patterns tell us what’s missing.
-
Your load response tells us where your limits are.
You don’t need to assign scores or labels to your findings. What matters is that you begin noticing patterns—and that you use these insights to guide what you work on next.
Final Thought: Make It a Practice, Not a Performance
Self-screening isn’t a test you pass or fail. It’s a conversation with your body. And like any good conversation, it deepens over time.
At Fluid, we use this process to create highly individualized programs that build from the inside out. You can begin that same journey by simply getting curious about how you move—and why certain things feel the way they do.
Next step? Try choosing one movement posture a week and reflect on it using the five ideas above. Journal your thoughts. Notice trends. Make small changes.
And remember: progress starts with awareness, not intensity.
Interested in learning how we assign corrective exercises based on this model? Let us know—we’d be happy to share that in our next post.


